Wooden festive candleholder with woven cups and pine decoration
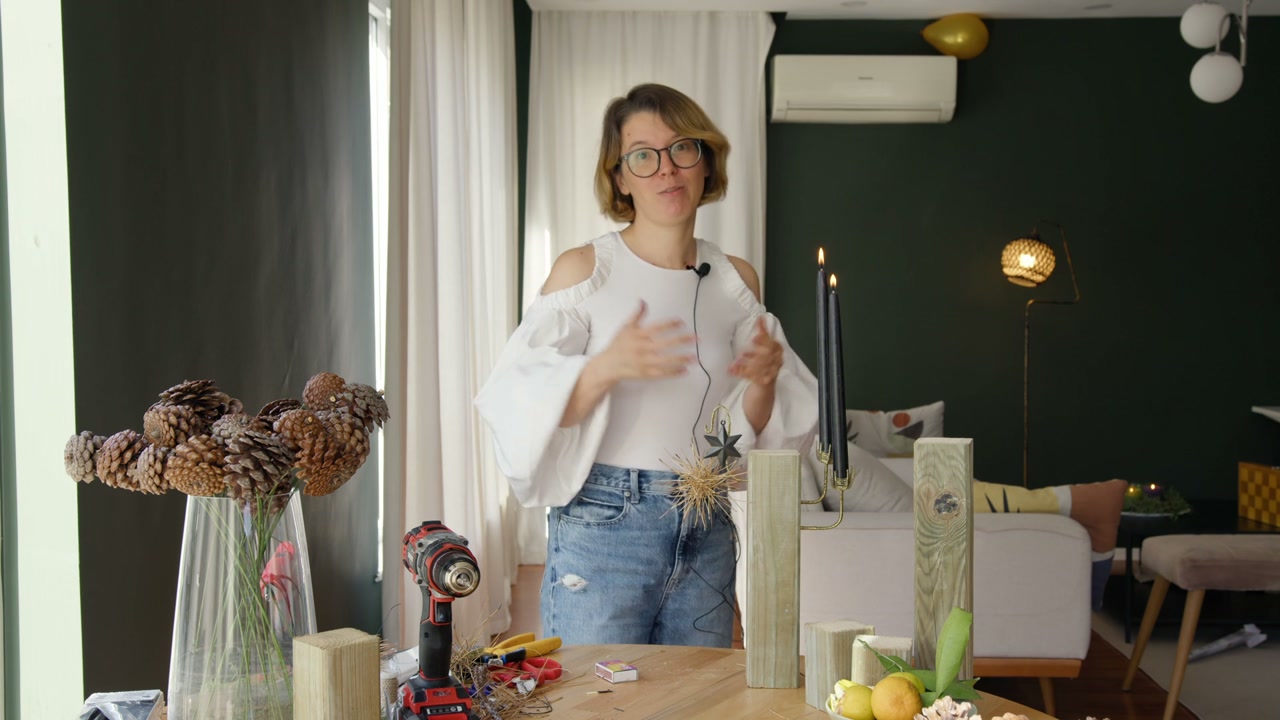
Turn a wooden block into an expressive candleholder with two projecting candles and a light pine decoration. This lesson is for florists and decorators interested in combining the texture of wood with hand-woven wire.
What makes this project distinctive
Seven thick wires form each stem and spokes; fine bullion wire wraps the base and sides, while the upper ribs can be adjusted to fit the candle.
Programme
Stages shown in the recording
- 01:26Candleholder concept and wooden baseThe wooden block forms the main volume, balanced by projecting candles and a light hanging decoration.
- 03:08Blocks of different heightsCompare pieces of different lengths for a single candleholder or a group.
- 04:33Wood texture and finishConsider the natural surface, colour and light sanding while preserving the character of the wood.
- 07:15Choosing candles and contrasting materialsCompare slender black candles with the scale and colour of the wood and gold wire.
- 08:19A four-candle variationConsider arranging four holders on the same base for a Christmas composition.
- 09:00Removable candle cupSize the woven holder so the candle can be replaced after use.
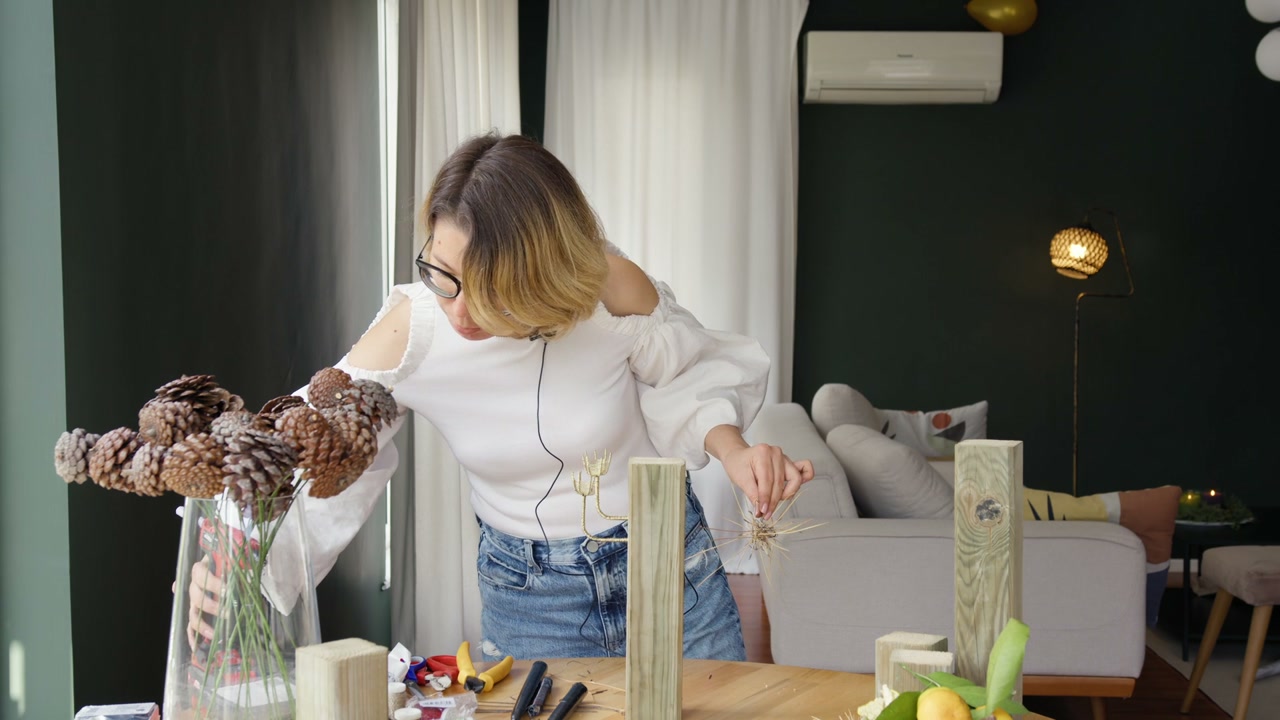
- 09:26Preparing wire spokesArrange lengths of annealed wire across one another to form the bottom of the cup.
- 10:51Weaving the baseWeave gold-coloured wire around the frame, checking its diameter against the candle.
- 11:33Sides of the candleholderRaise the spokes and continue weaving around them to form a shallow cup.
- 12:54Finishing the cupAdd rows, trim and secure the ends so the sides hold the candle.
- 16:03Fitting the holderCompare the finished cup with the candle and consider how to finish the exposed spokes.
- 16:44Wrapping the spokesWrap each projecting end separately to add a gold texture to the frame.
- 19:24Checking the candle fitPlace the candle back in the cup and check its position before mounting it on the wood.
- 19:50Shaping projecting supportsBend the wire below the cups into legs that carry the candles away from the block.
- 20:45Two candles at different heightsMake one support higher than the other to create an asymmetrical composition.
- 23:05Drilling the wooden baseChoose attachment points and drill holes for the wire legs, watching the drill angle.
- 24:40Gluing the supportsFill the holes with hot glue, then insert and align the wire legs and cups.
- 30:15An Advent variationSee how four candles could be arranged on the same block.
- 33:26A hanging decorationChoose an airy wire form for the opposite side of the wooden base.
- 34:00Loose wire formUse loose loops and figure-eight movements to make an open three-dimensional frame.
- 36:22Shaping the frame and adding pine needlesGather the wire into a loose ball and weave in dry pine needles.
- 40:15Support and hole for the decorationMake a separate wire support and drill its mounting point on the other side of the block.
- 44:36Securing the light formFix the loose frame with pine needles and check its shape beside the candles.
- 45:40A dark star accentAdd a small black star to echo the colour of the candles.
- 49:08Installing the decorationTest the wire support in the hole and clear and adjust the hole where needed.
- 52:21Fixing the decorationSecure it after another fitting and examine the wood, gold wire and pine together.
- 54:03Candles in the finished pieceLight the candles and see how their flames look alongside the hanging decoration.
Preparation
Materials and tools
- Upright wooden block
- stiff and binding wire
- slender display candles
- dry pine needles
- decorative star
- drill and cutting tools
What you will make
What the recording covers
The instructor preserves the natural surface of the block while removing splinters, then weaves two cups for replaceable candles. The curved stems are fixed with glue into drilled holes at different heights.
A wire hook on the opposite side holds a suspended decoration. See how to weave an open three-dimensional form with return loops and add dry pine needles and a star. Several blocks of different heights can be grouped for a table display.
Who it is for
- This lesson is for florists and decorators interested in combining the texture of wood with hand-woven wire.
The recording follows one piece with two candles and a hanging decoration.