Rustic tree of pine needles and reeds
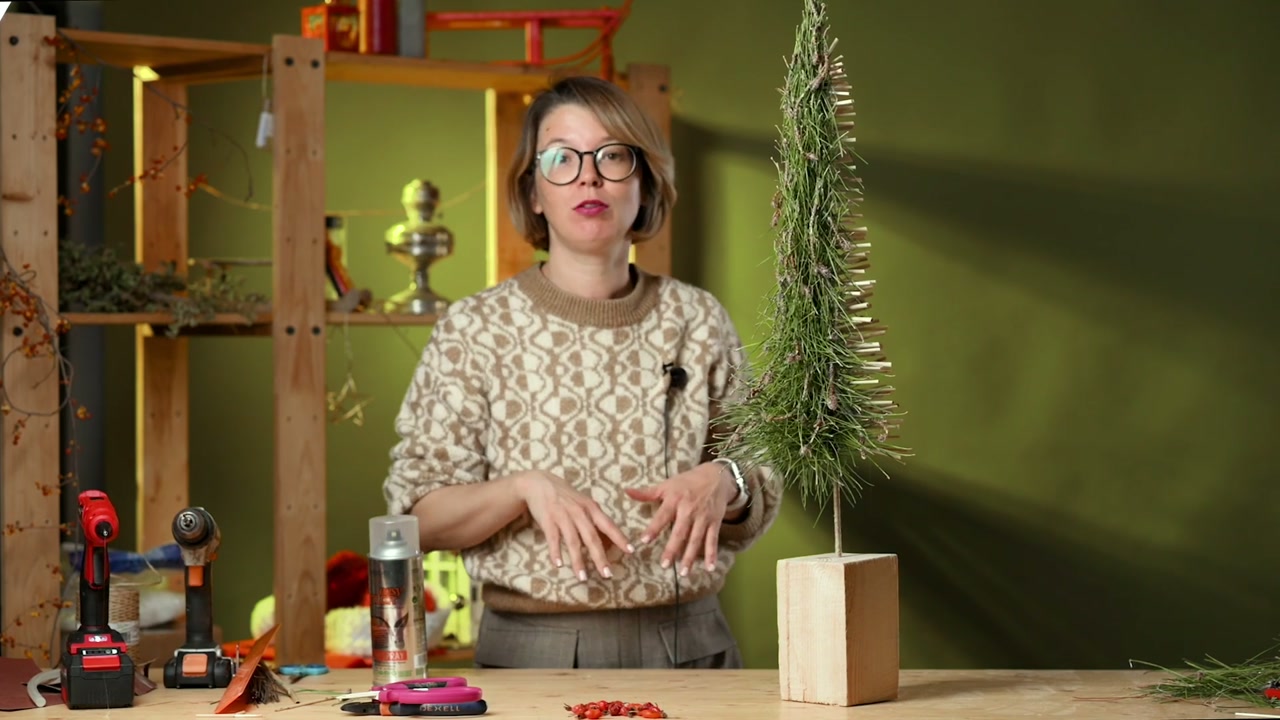
Make a slender decorative tree on a wooden base, combining dark pine needles with pale dried reeds.
What makes this project distinctive
Dried reeds are threaded onto wires on the other side.
Programme
Stages shown in the recording
- 00:01Shape and materialsChoose an elongated triangular silhouette and prepare pine needles, a wooden base, rod and wire.
- 02:08Base and rodSand the block, drill its centre and secure and wrap the vertical rod.
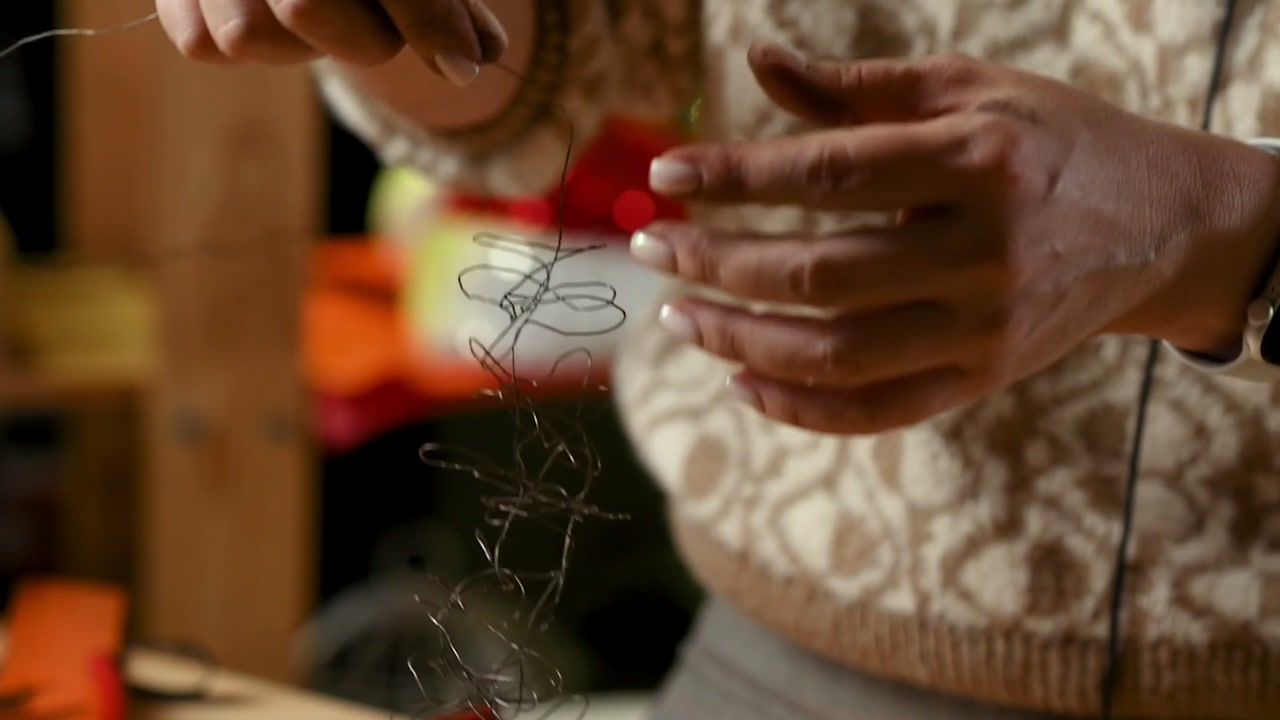
- 08:02Wire frameWind short wire pieces in different directions to hold the decorations.
- 11:08Three-dimensional meshWeave a tangled spring with return loops and fix it to half the frame.
- 17:35Adding pine needlesInsert the needles into the mesh, keeping the top narrow and the bottom wider.
- 21:28Branches and reedAdd pine twigs and thread dry reed onto the free wires.
- 24:30Shaping and finishingTrim both sides, check the proportions and secure the needles with spray if needed.
Preparation
Materials and tools
- Wooden block
- central pin
- stiff and binding wire
- long pine needles
- branches
- reeds
- optional spray adhesive and decorative snow
What you will make
What the recording covers
The florist sands a wooden block, fixes a vertical rod in it and builds a wire frame. On one side the frame holds a loose wire mesh, filled with pine needles and small branches.
Both sides are trimmed to keep the top narrow and the lower section wider.
Who it is for
- For anyone practising three-dimensional wirework and contrasting textures.
The recording follows one slender tree on a wooden base.