Extended candle with birch bark and gold wire mesh
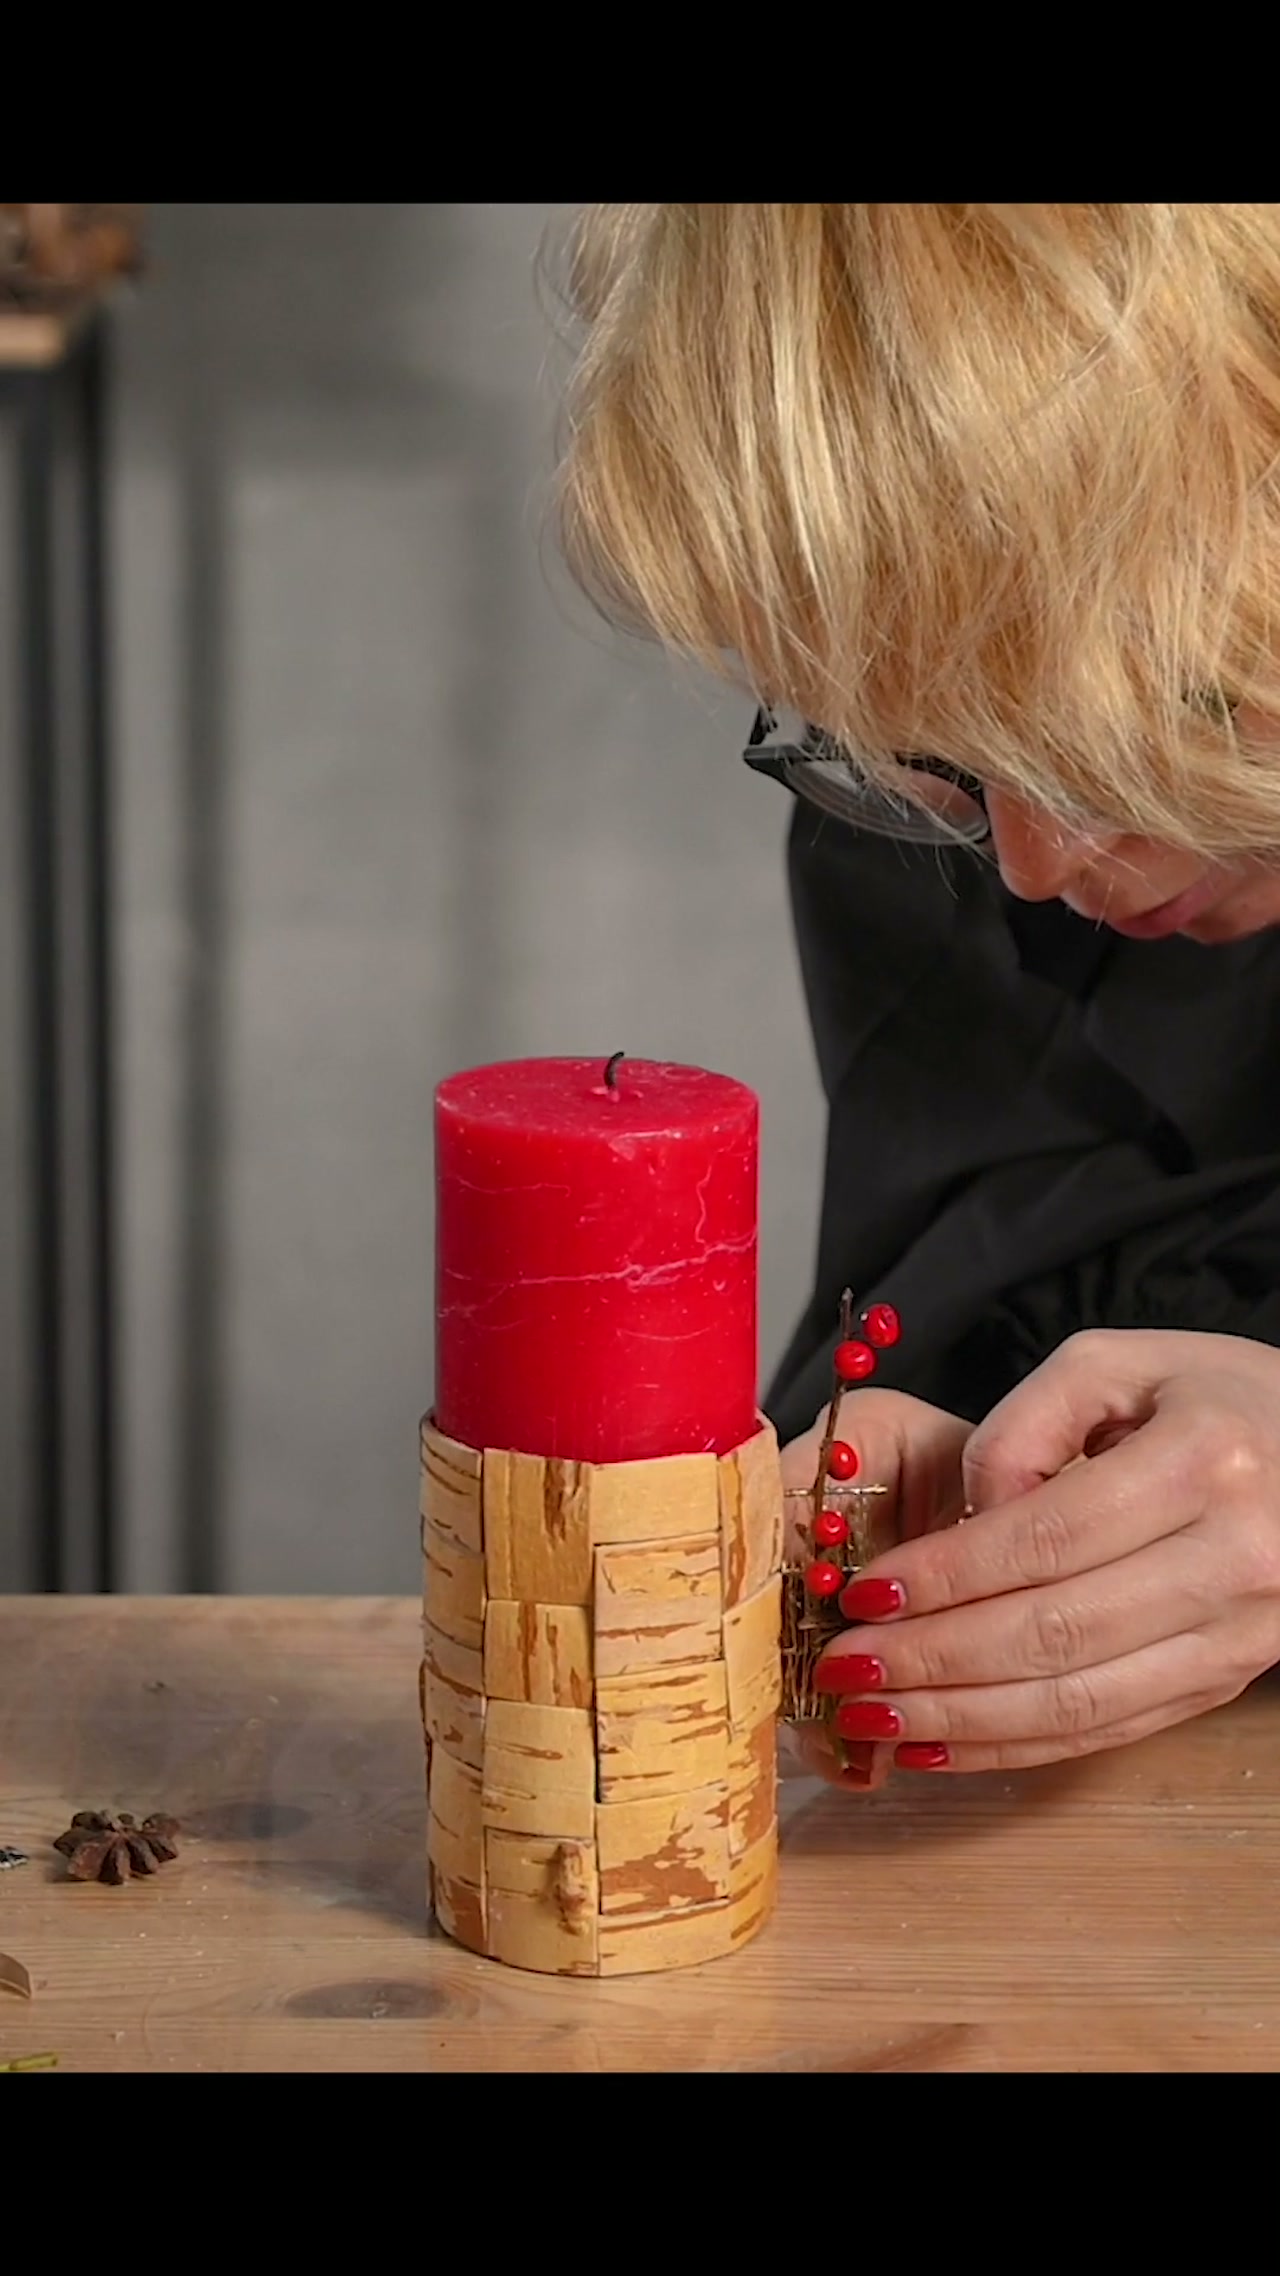
A short candle becomes part of a tall decorative form, finished with textured birch bark and a fine gold wire insert. The recording covers the base and decoration.
What makes this project distinctive
For the vertical accent, wire and bullion wire form a mesh that holds a holly sprig and star anise.
Programme
Stages shown in the recording
- 00:00Two cylinders for the candleCut polystyrene pieces to match the diameter of the short candle.
- 02:02Joining the piecesSecure the cylinders with wire, using only a thin layer of glue.
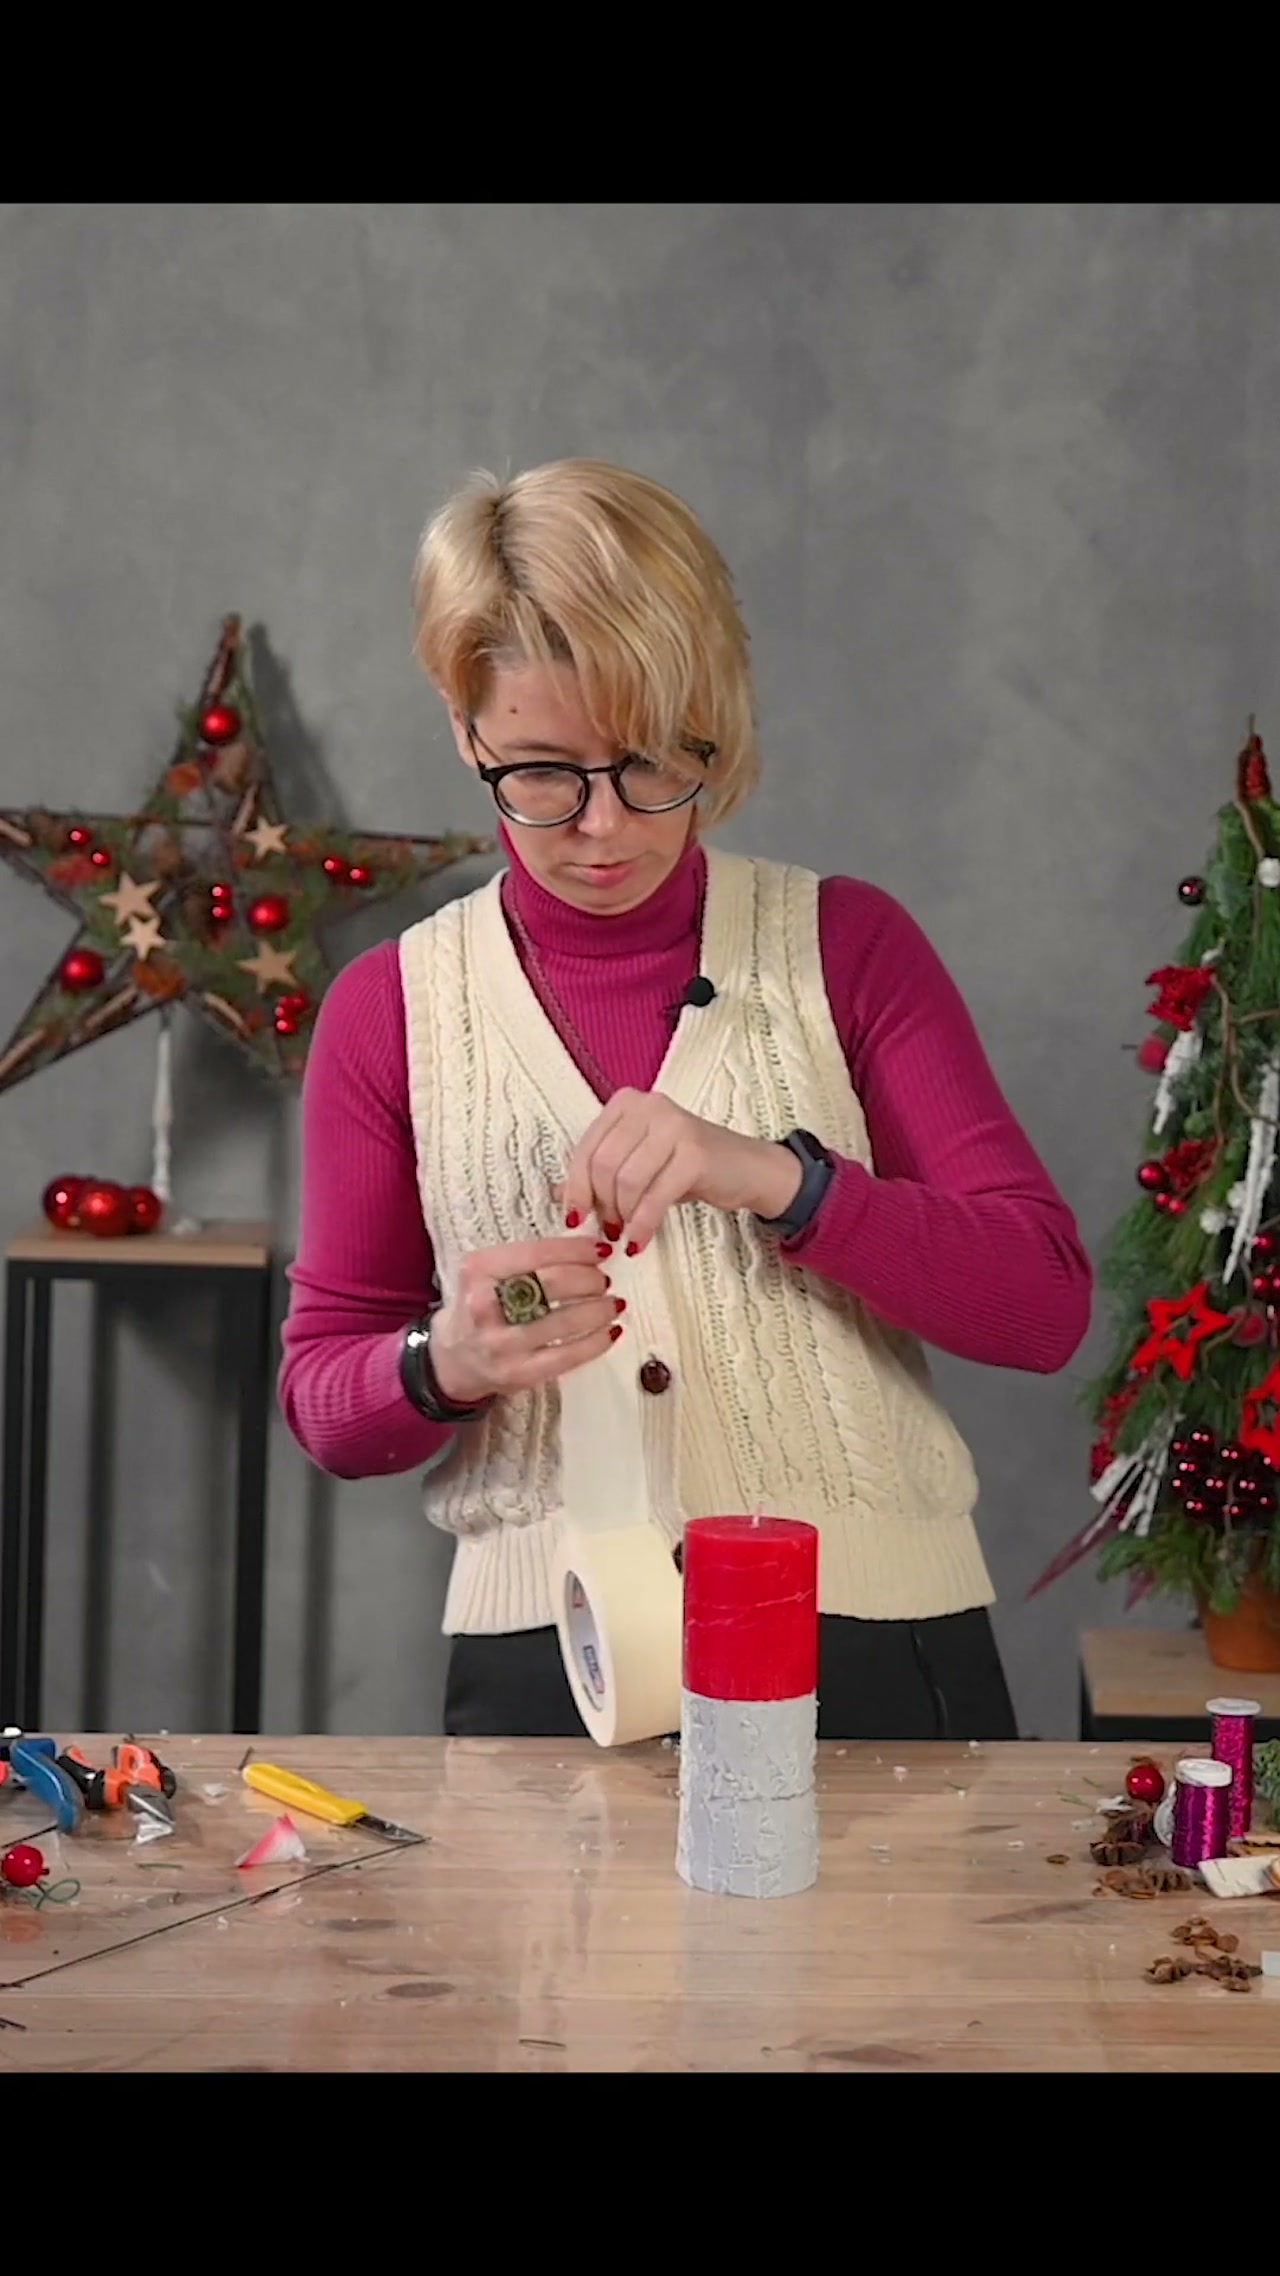
- 04:03Mounting the candleInsert wire pins into the candle and join it to the prepared support.
- 07:08Masking tape layerEven out the diameter and cover the polystyrene before decorating.
- 09:03Birch bark textureCut bark into strips and squares and vary the direction of the pattern as you apply them.
- 12:00Vertical wire ribsInsert short supports into a bark seam for additional decoration.
- 13:23Golden wire weavingConnect the ribs with fine wire to create an open mesh.
- 14:03Ilex and star aniseSecure the branch at two points and add small star-anise accents.
- 16:04Concealing glue marksReposition a poorly attached star and cover the marks symmetrically.
Preparation
Materials and tools
- Short display candle
- polystyrene pieces
- wire
- adhesive
- masking tape
- birch bark
- fine gold wire
- ilex
- star anise
What you will make
What the recording covers
The instructor cuts two pieces to the candle diameter, joins them with wire pins and covers the base with tape. Birch-bark squares are then attached with the grain running in alternating directions.
Who it is for
- For anyone making a winter interior accent with textured birch bark.
This is the second part of a candle-decoration lesson.